The Smart Lever Beaver: A Closer Look

Lever Arch Files – a good component of any archivist’s arsenal of tools, and a familiar sight (or a familiar headache) for administrators and archive staff far and wide. While they may be useful in holding batches of files together, they can prove to be too bulky at times.

Storing Lever Arch Files in regular archive boxes can be tricky and will most likely end up in wasted storage space. You need to buy custom-made archive boxes to fully utilise storage space, or you have to lay them end on end and leave big chunks of wasted box space.

That’s where The Smart Lever Beaver comes in to save the archivist’s day!

See the Before & After Action Shots

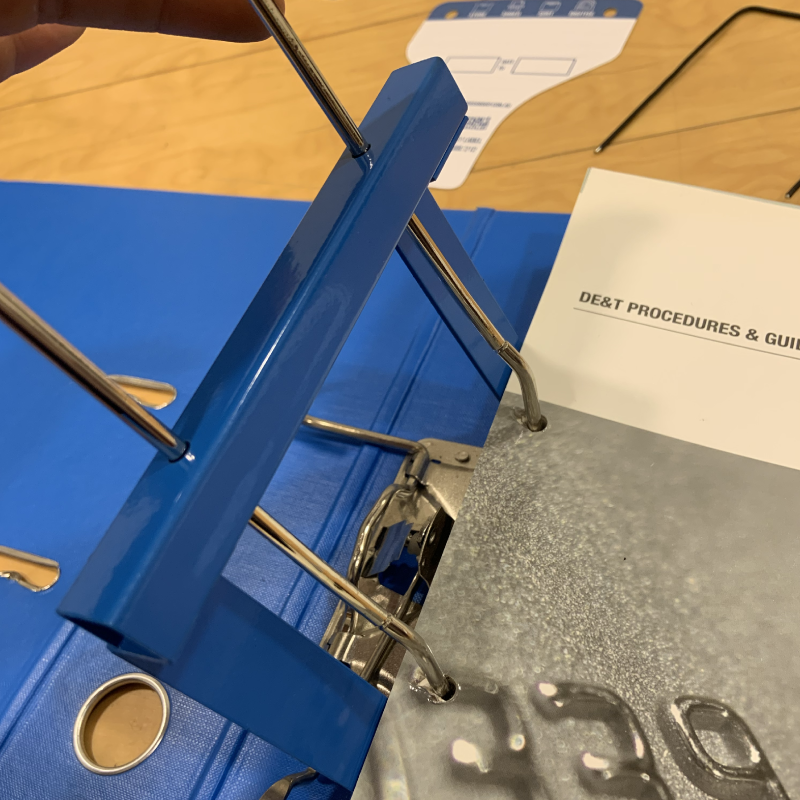
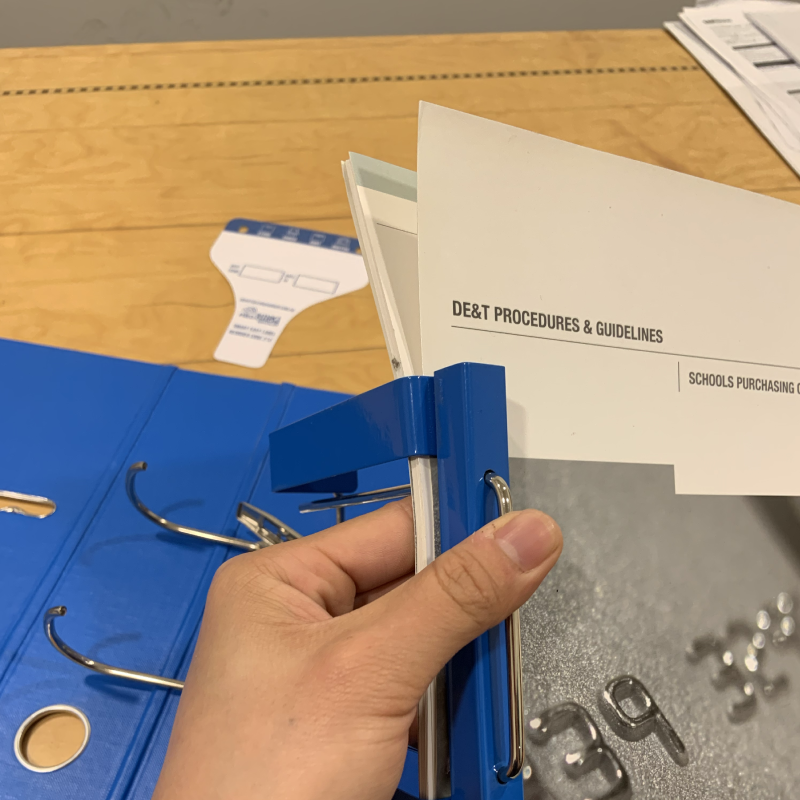
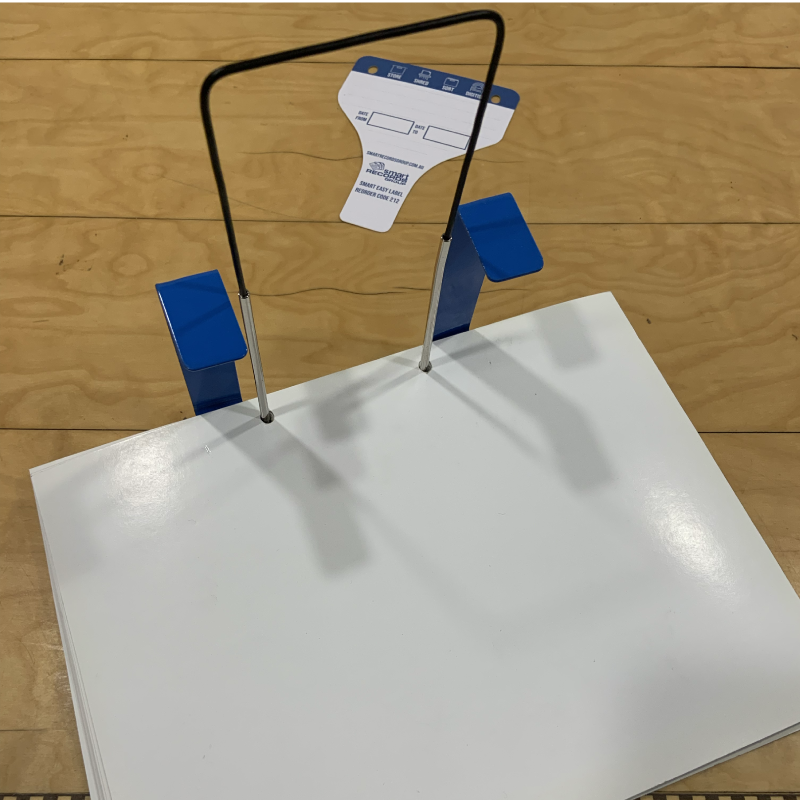
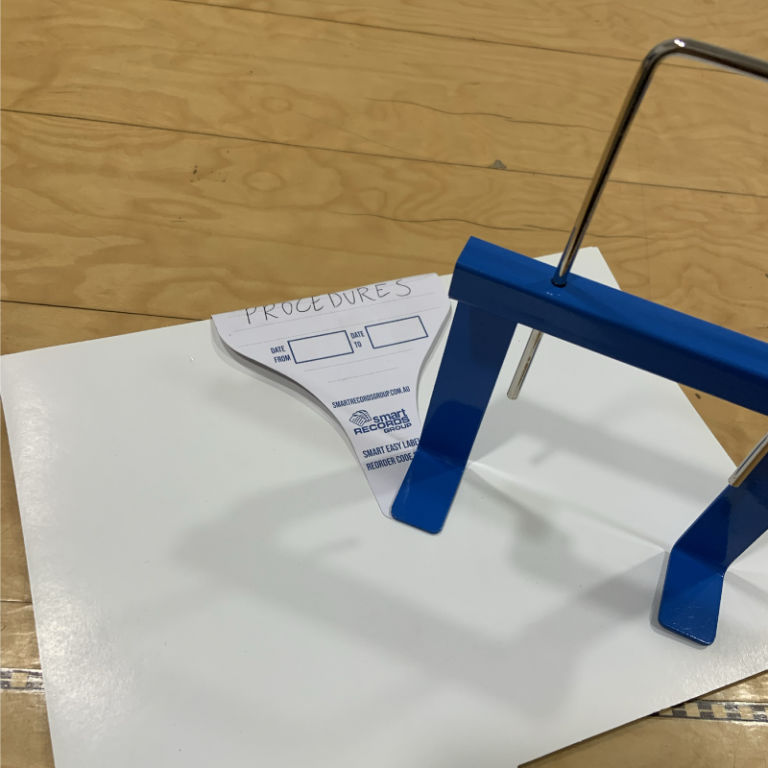
The Smart Lever Beaver quickly extracts and binds documents stored in a Lever Arch File in just a few easy steps.

Maximise precious storage space and reuse your lever arch files, saving you money in the long run.

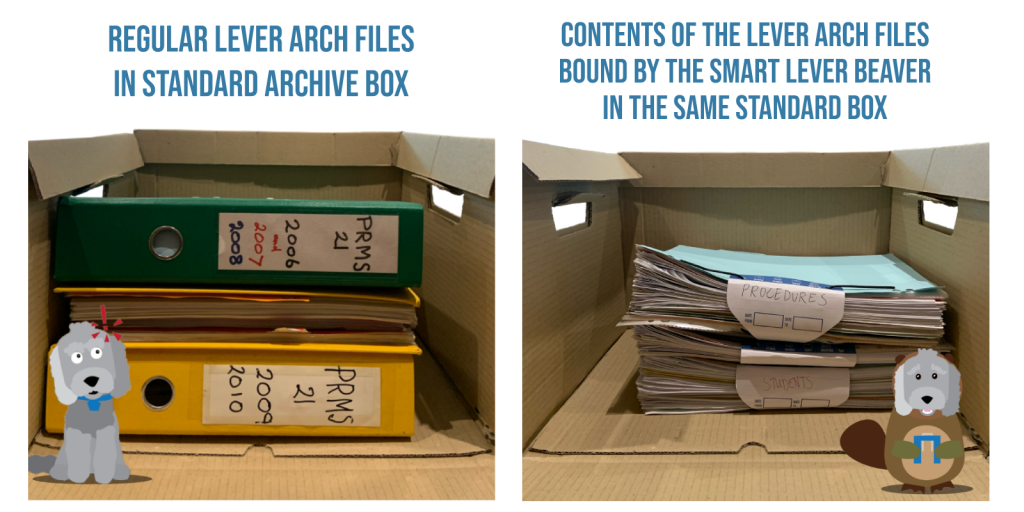
As seen in the comparison image above, the Smart Lever Beaver saves loads of space while still keeping your documents securely bound in neat stacks that are easy to organise and work with.

The Smart Lever Beaver has everything you need to get started in extracting, binding, and labelling the contents of your Lever

How To Use The Smart Lever Beaver

Keen on getting started with the Smart Lever Beaver? Follow the easy steps below and you’ll be saving up on time, effort, and storage space in a snap!

Step 1:

Open your Lever Arch File’s steel folder mechanism.

Step 2:

Place the feet of the Smart Lever Beaver under ALL documents inside the Lever Arch File.

Step 3:

Place the chrome prongs of the Smart Lever Beaver onto the shorter prongs of the Lever Arch File.

Make sure that the groove of the Lever Beaver’s prongs align with the grooves of the Lever Arch File’s.

Step 4:

Apply firm pressure to the chrome, then pull the Smart Lever Beaver along with the documents up with your fingers to remove the documents from the Lever Arch File.

Step 5:

Once you’ve removed all documents from the Lever Arch File, turn the assembly over and insert the plastic-coated binders into the holes of the Smart Lever Beaver’s chrome prongs.

Step 6:

Place the assembly on the edge of a desk with the Smart Lever Beaver in an inverted position, then tap down the binder through the documents.

Step 7:

Pull the beaver assembly off the documents and the binder, then place the Smart Easy Label on the binder, as shown below.

Step 8:

Fold the binders back, then tuck the label under the binder.

Your files are now securely bound and ready to store or work with!

Order Your Smart Lever Beaver

Here you can order a Lever Beaver starter kit or additional supplies if you already have a system. The starter kit includes the Lever Beaver and 20 labels and binders.

Other News

get a free sample & quote

Book a Retention Update Service

Book this update service if you need us to update your retention schedule for just $99 +GST. You will be invoiced once your software has been updated.